It’s that time of year again around here! Garden planning has completely taken over my brain and I’m despairing that spring will never come. So what’s a gardening addict to do? There’s no cure for a gardening problem, but there is something that gives me hope that spring will come again—winter sowing!
- What is Winter Sowing?
- When to Plant Seeds for Winter Sowing
- Caring for Winter Sown Seeds
- When Will My Seeds Germinate?
- Winter Sowing Method
- Where Should I Place My Containers?
- When Do I Plant My Seedlings?
- So what did I plant?
Last year was my first time winter sowing and it’s safe to say that I’m hooked. It’s the perfect way for avid gardeners to keep busy. It provides some balm to the itch to get into the garden as soon as possible. It’s also delightfully low effort and low cost, but still offers the fun of watching your tiny seedlings grow. My experience was not an unqualified success, but overall I think it went very well. This year, I’m hoping to apply what I’ve learned. I loved saving the space under my grow lights for vegetables and not having to worry about hardening off my seedlings. Also, I didn’t have to contend with leggy plants or strange-coloured leaves—two of the most stressful aspects of growing under lights for me. So here we go!
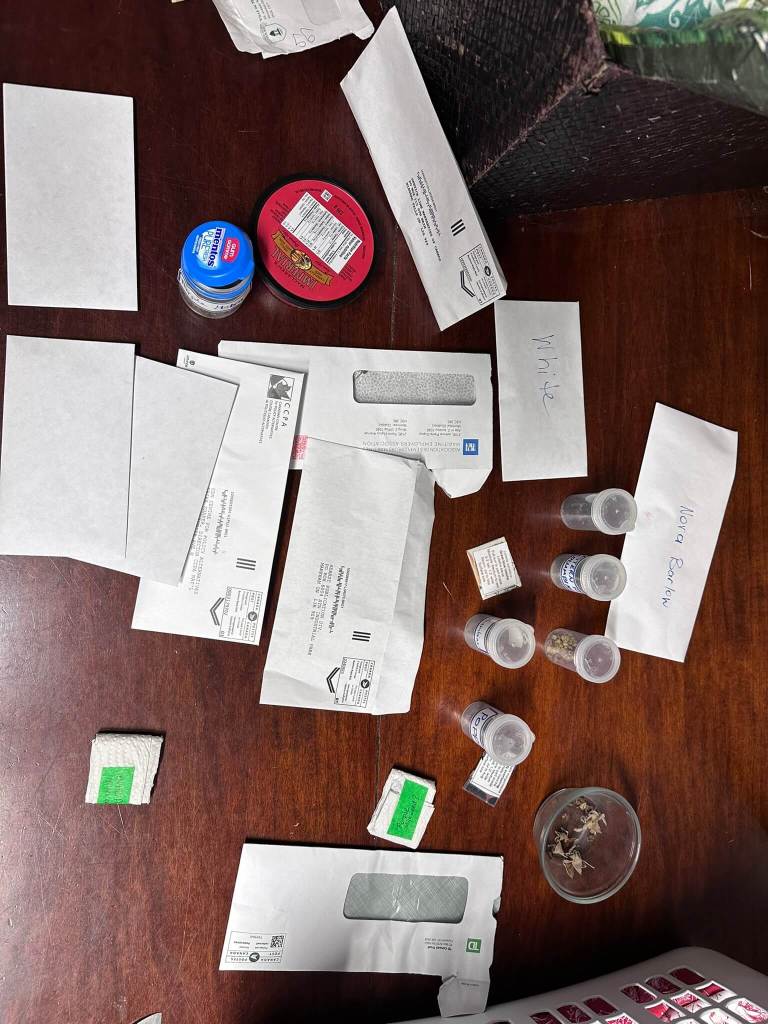
Dear reader, I’m realizing I have a major problem here. Look at all the seed varieties I’ve got! Where am I going to put all these plants??? Trust me when I say I have no space. I’m just hoping against hope that my husband doesn’t read this post and realize just how overboard I’ve gone. I honestly have no idea how many different seed varieties I’ve collected and intend to winter sow. All I know is, it’s too many!
What is Winter Sowing?
Winter sowing is planting seeds in plastic containers with lids that have drainage holes in both the top and the bottom, then placing them outdoors in winter. These plastic containers create mini-greenhouses and the holes in the bottom provide drainage, while the holes in the top allow rain and melting snow to trickle in. The traditional vessel for this is a plastic milk jug. People generally cut them in half, poke drainage holes in the bottom, plant the seeds, then duct tape the top of the container back on. Once the seeds have germinated in their mini-greenhouse, they leave the cap of the milk jug off to allow rain to get in and air to circulate.
When to Plant Seeds for Winter Sowing
One of my favourite aspects of winter sowing is that the timeline is very forgiving. You can start your seeds any time after the winter solstice, as long as you start the seeds by the time of the start indoors date on the seed packet directions. This means you can start them at your leisure. This week I started 12 (yes, 12! What am I going to do??) varieties, but I have more to come.
Caring for Winter Sown Seeds
Once the seeds are safely in their mini-greenhouses outdoors, the idea is to largely forget about them. You need to be sure that the soil stays moist, and water if needs be, but the whole system should take care of itself. Rain or snowmelt keeps the seeds/seedlings moist and the container provides warmth and protection. However, once the ambient temperature is warm, you do want to make sure that the seeds are not suffocated by heat in their greenhouse. At that point, you probably want to be taking off the lid during the day and replacing it at night. For me, this is when the milk jugs became problematic. It’s not super easy to remove the duct tape each day and re-tape it in the evening.
When Will My Seeds Germinate?
Your seeds will germinate and grow based on the outdoor conditions. People with longer growing seasons will see their plants emerge sooner than those in colder climates. Last year, I placed my bins outdoors sometime in January and started seeing seedlings in early April.
Winter Sowing Method
If you remember, last year I tried three different methods of winter sowing as something of an experiment. Based on that experience, this year, I’m taking a bit of an unconventional approach. Although I found it super frustrating to contend with the duct tape, I did like how easy it was to divide the seedlings grown in milk jugs and plant them. Conversely, I liked how easy it was to open and close the plastic bins, but I didn’t like how difficult it was to extract the seedlings to plant once it was time. So this year, I decided to do a hybrid with the goal of getting the best of both worlds—the easy dividing of the milk jugs and easy opening of the plastic bins.
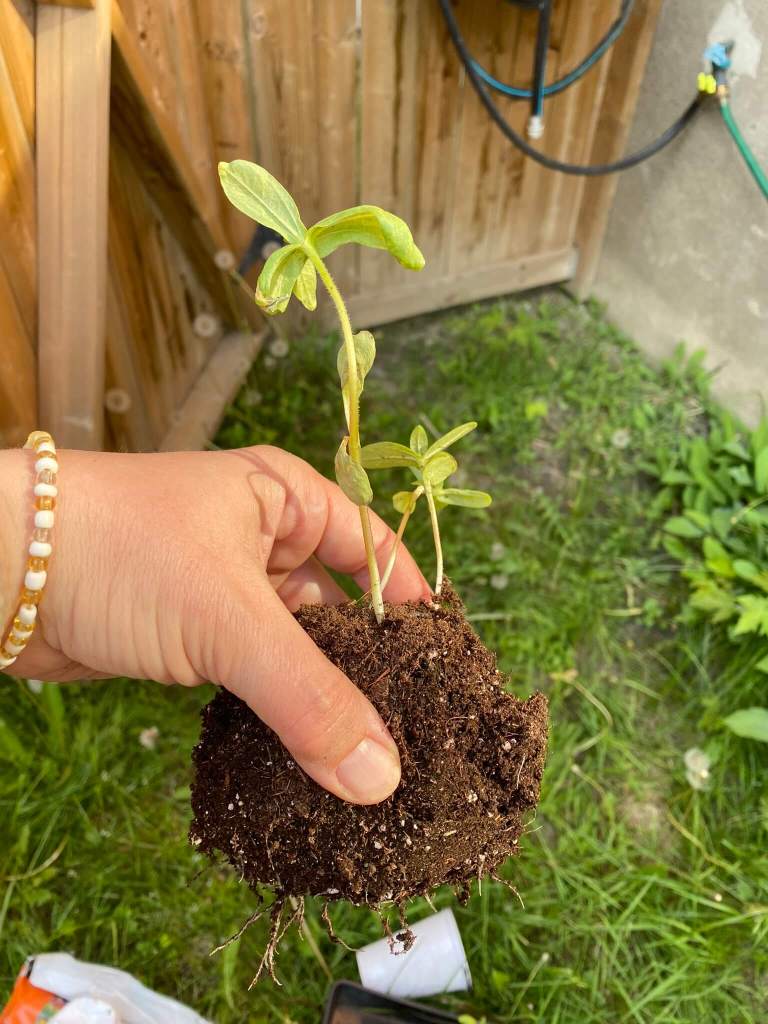
See how nicely the hunk of roots came out?
So first I checked how the milk jugs fit in the bins I was reusing from last year, and they couldn’t have fit more perfectly. Six jugs fit in each bin.
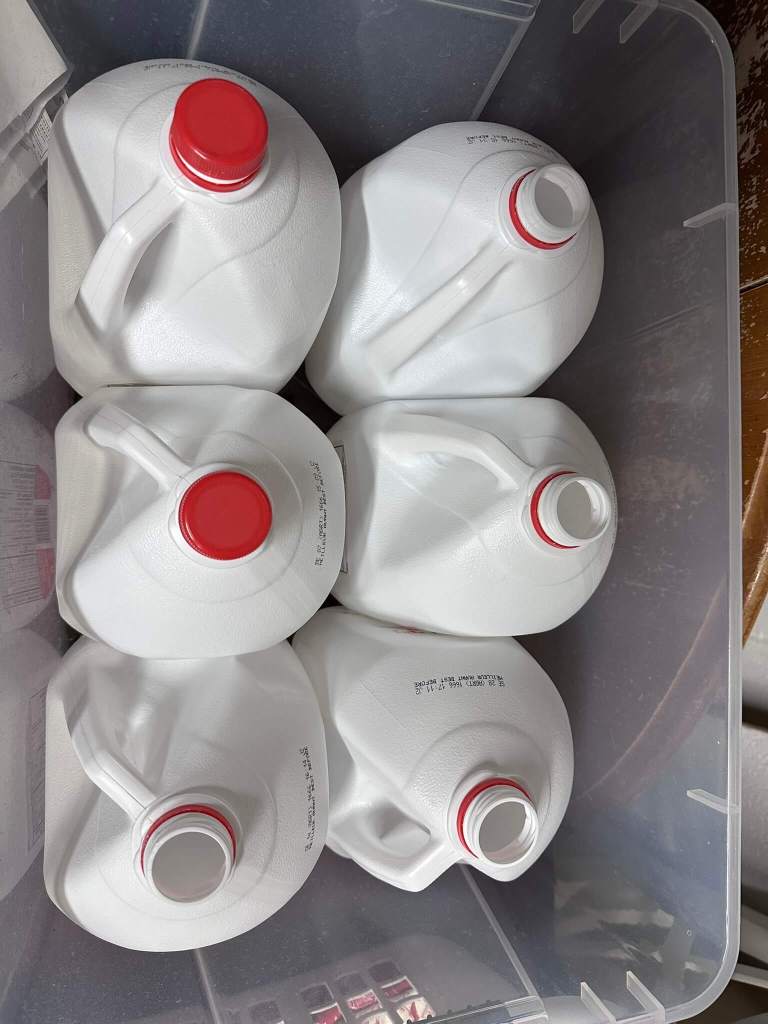
I’d been collecting milk jugs for a while and had stopped at 13. I couldn’t have planned it better if I tried!

I split the milk jugs. Luckily my husband keeps our knives very sharp.
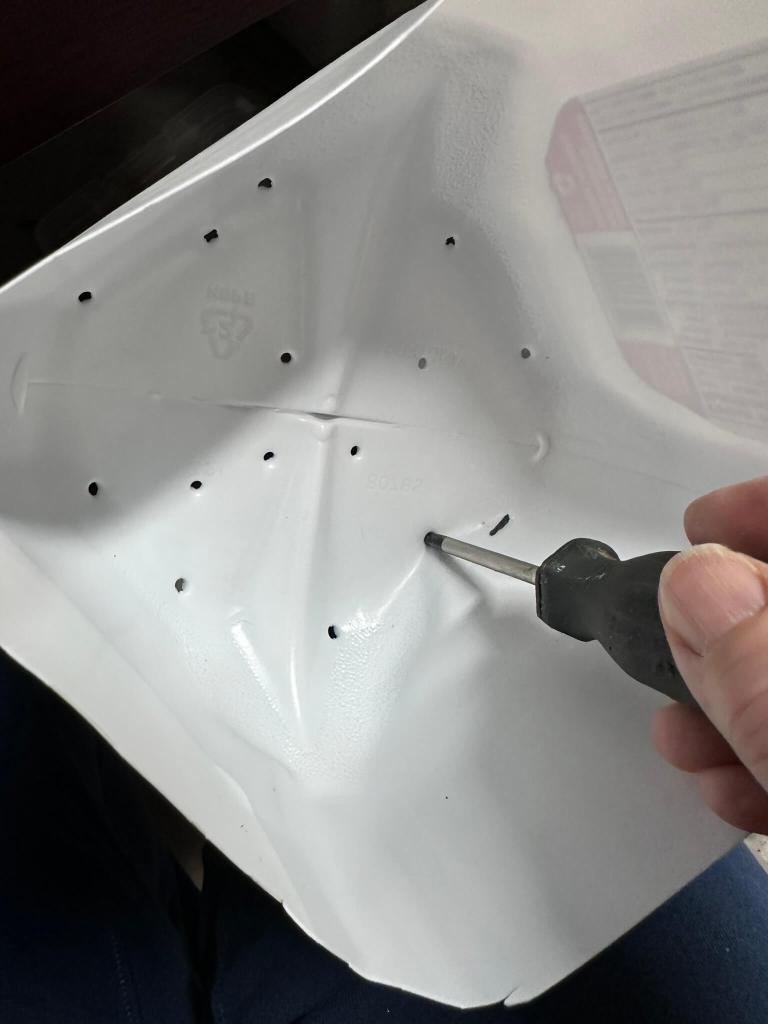
Poked drainage holes using my trusty punch. (I have no idea where my husband got this, but he offered it as a solution when I was planting in solo cups and I’ve used it ever since! It’s perfect!)
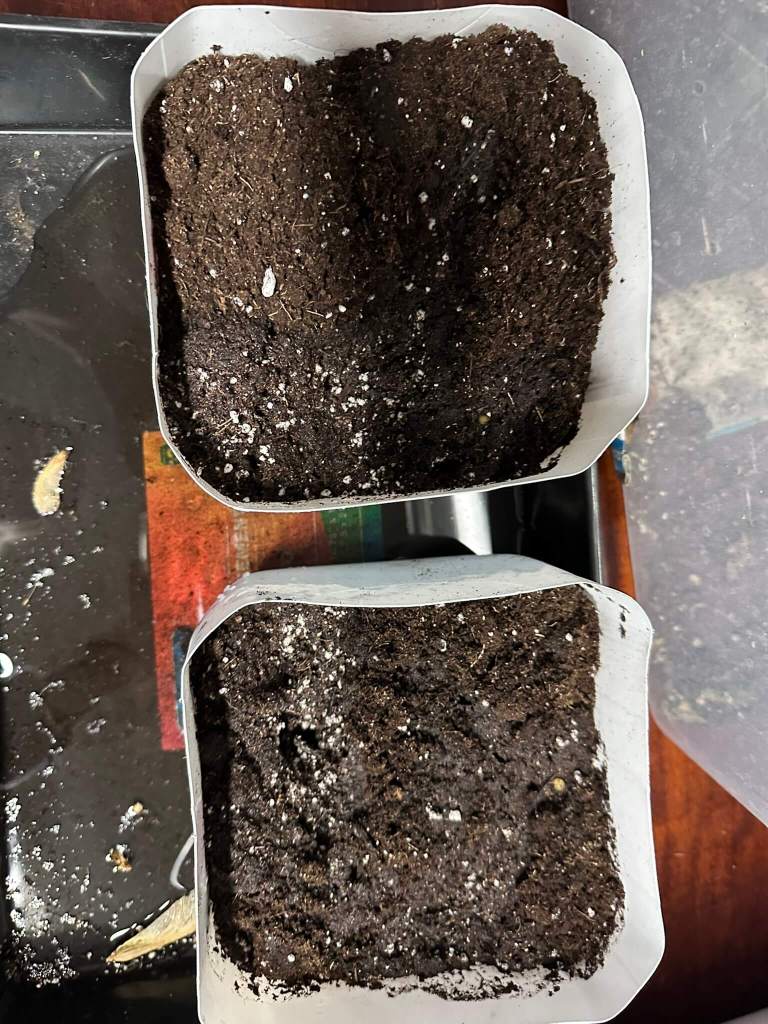
Then I filled the jug bases with potting soil. It’s important that the potting soil be quite moist. I did wet it quite a bit and mix it around before I put the seeds in.
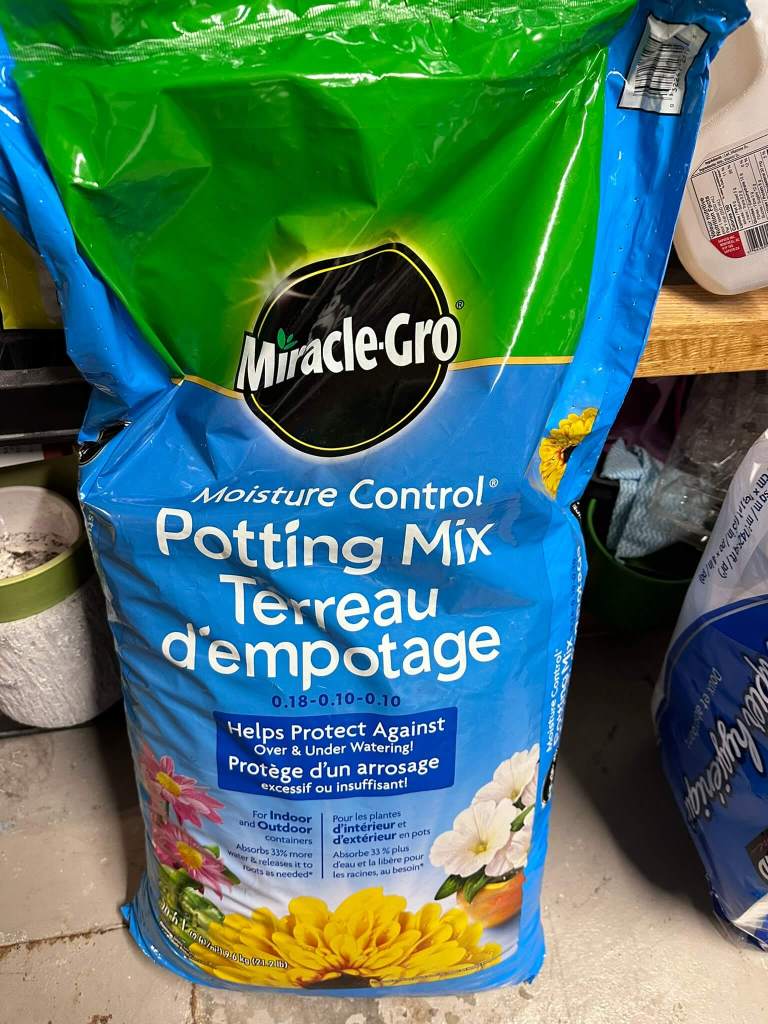
I didn’t use anything special. Just potting soil I bought around the corner.
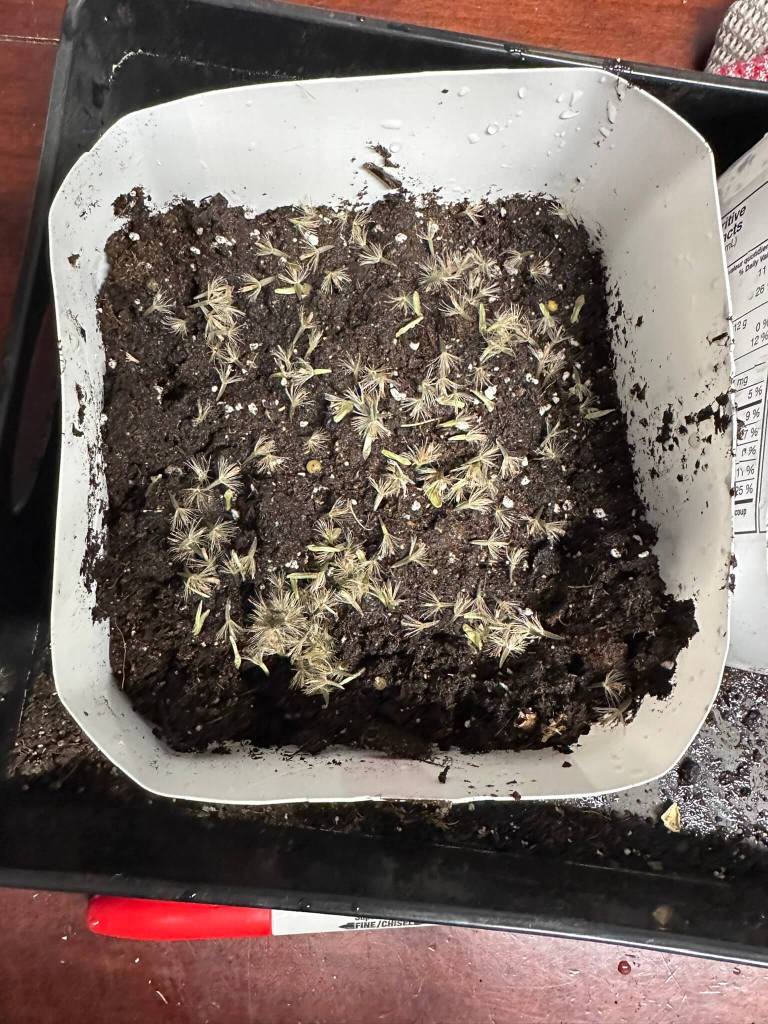
I sprinkled seeds over the potting mix and then I loosely covered with soil. I don’t know if covering them was the right thing since most of these seeds spread simply by falling on the ground (and some even said surface sow) but it just felt wrong to leave them exposed. I hope I won’t regret that later. Last year it was totally fine.
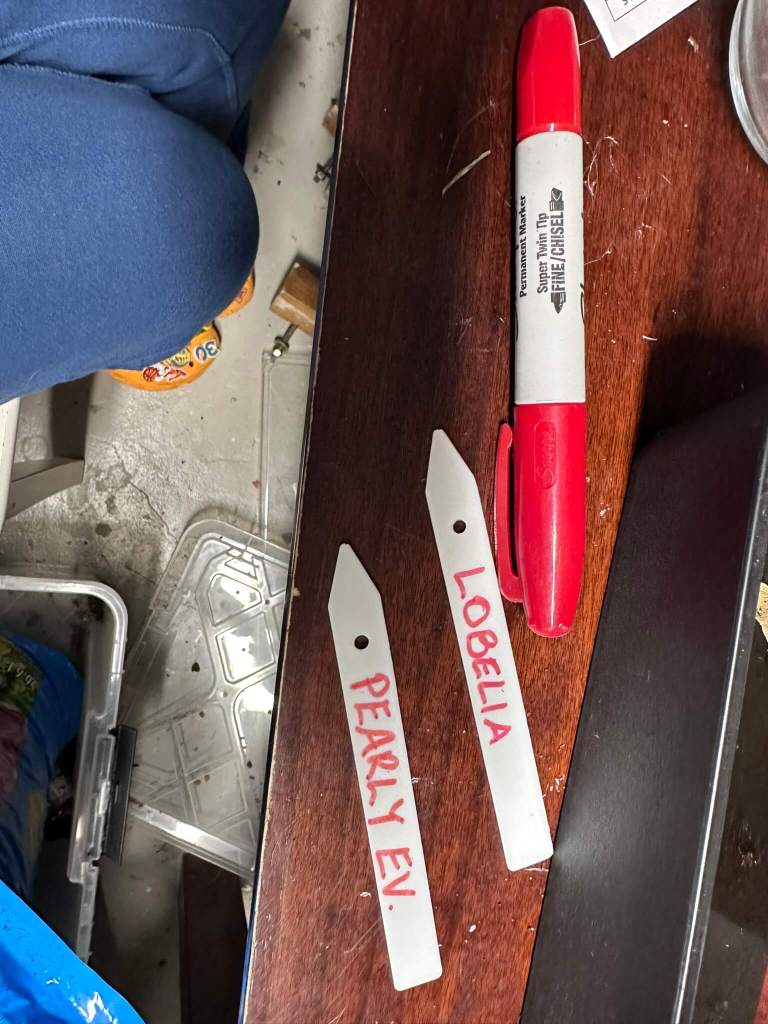
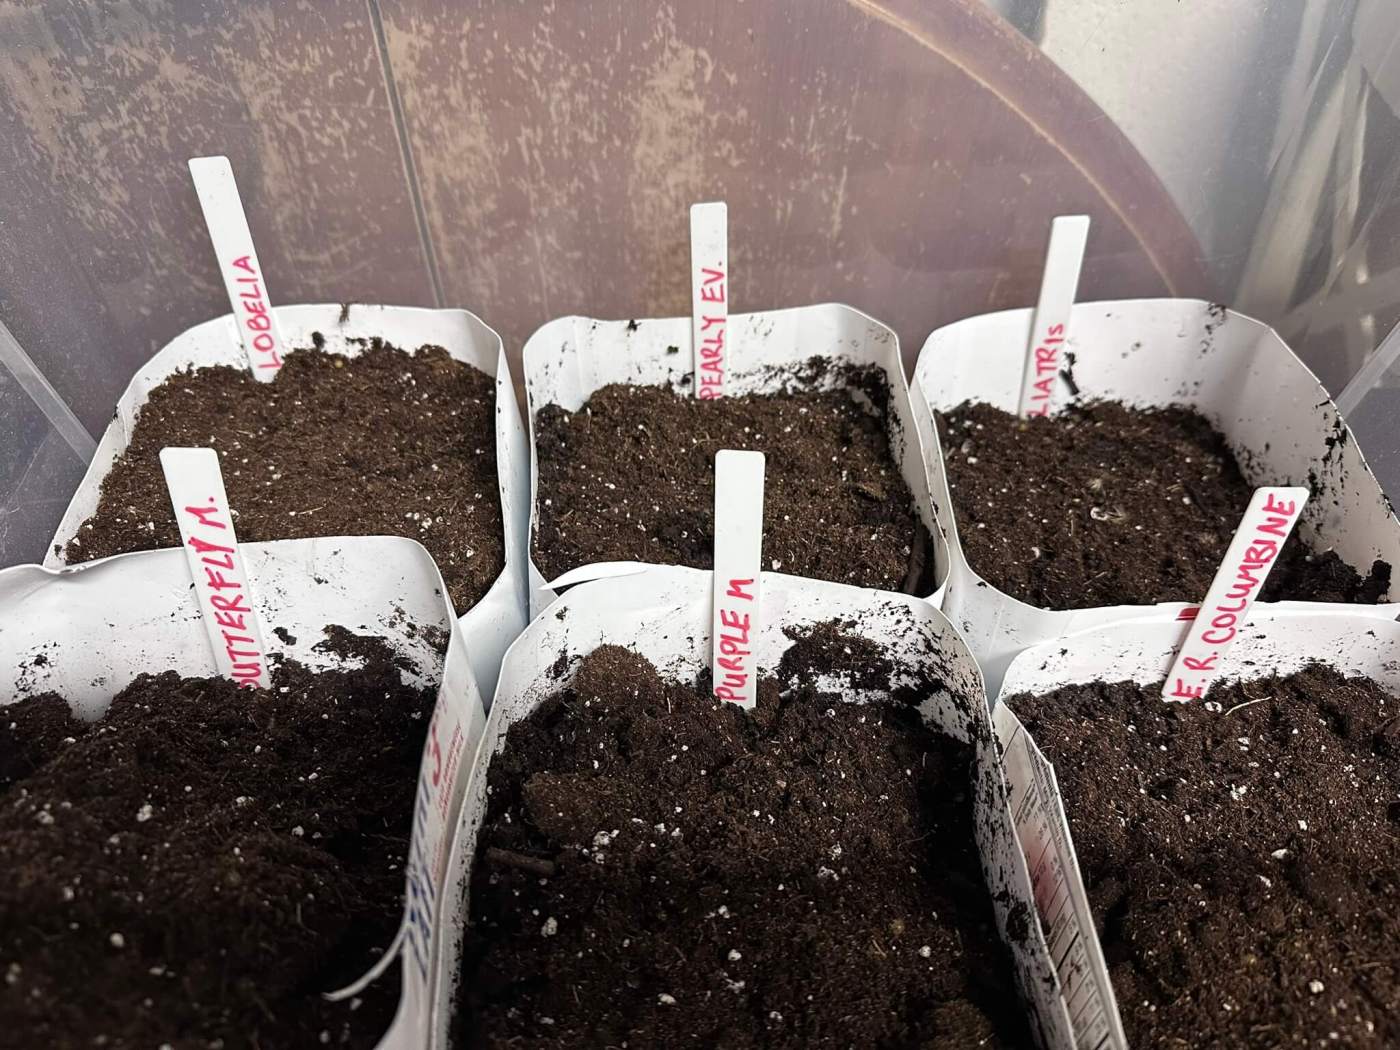
Then I labeled them, put them in the bins and snapped the bins shut. Labeling is a particular challenge with winter sowing. Since you are creating something of a mini greenhouse, labels often fade or melt off. People have tried lots of different methods. I don’t know if there’s consensus on something that works. Considering that I didn’t label my winter sown seeds at all last year, I feel like I am winning just by trying. I used plastic tabs and a Sharpie.
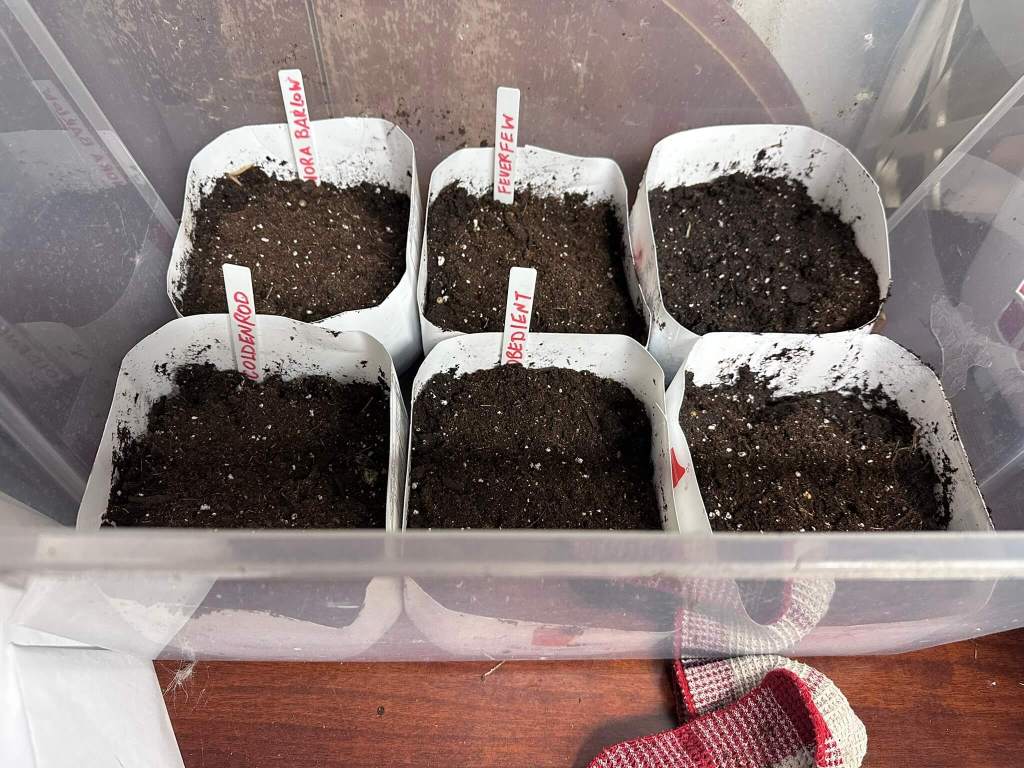
I also took a photo of each bin before closing it. That should help me remember if my labels fail. If you’re observant, you’ll notice I ran out of labels. On those, I just wrote on the jugs.
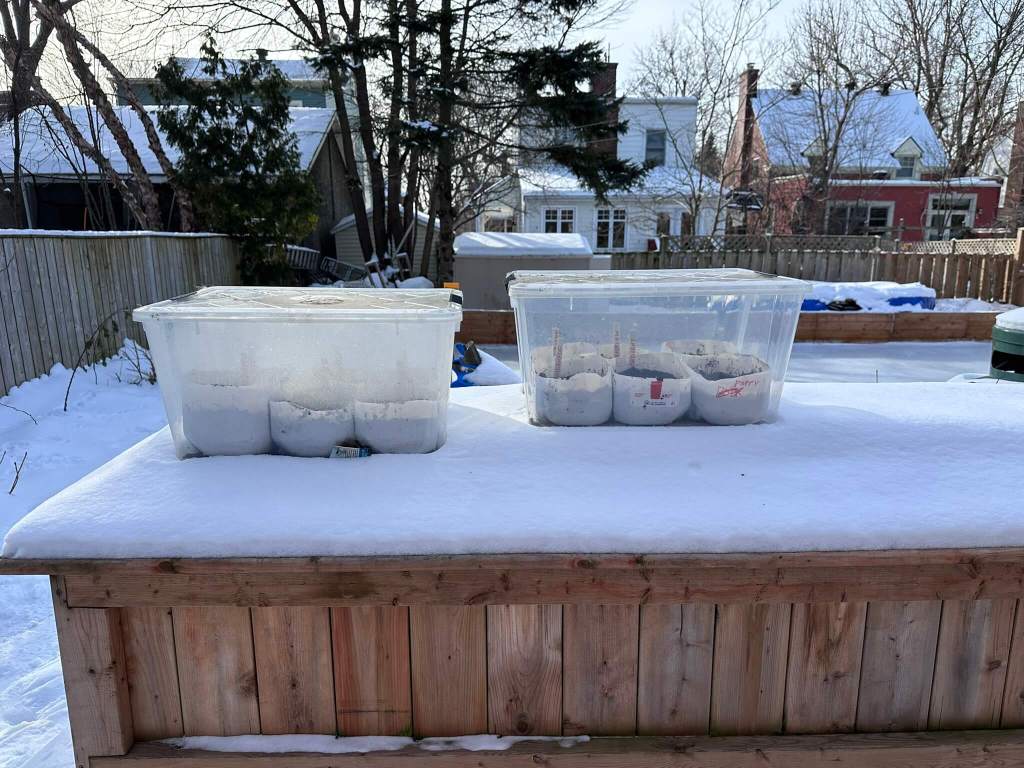
Then I put the bins outside in a sunny spot in my backyard.
Where Should I Place My Containers?
That depends on where you live. Generally it should be sunny but sheltered. You don’t want to take the chance of your containers getting knocked around. And if you live somewhere warm, you might want to pick a spot that’s in partial shade so your seedlings don’t over heat. I also worry about water pooling, so I tell myself that by putting them over the soil in my raised beds, the water can drain more freely than on a less porous surface. I don’t know if that’s true, but it feels right to me.
And now I’ll mostly leave them alone. I will check from time to time that the soil stays moist and then once the days start warming up I’ll need to open the lids in the morning and close them in the evening and water the seedlings if they need it. My backyard gets extremely hot, so this is important. Last year, I started opening the bins when the daytime temperature reached around 10 degrees Celsius. Even so, I think some of the seedlings showed signs of sunburn.
When Do I Plant My Seedlings?
Again, this depends on where you live. If your plants are not frost resistant, wait until after the risk of frost has passed. In Montreal, I like to wait until the nighttime temperature is consistently around 10 degrees Celsius. Last year that wasn’t until May 28. What’s so nice about winter sowing is that you don’t have to worry about hardening off your seedlings so you can throw them in the ground whenever you decide it’s time.
So what did I plant?
I decided to start with seeds for native plants or plants that I know will self seed, since these seeds will in theory contend with the coldest weather. This means that in this first batch I planted:
- Great Blue Lobelia
- Pearly Everlasting
- Goldenrod
- Liatris
- Butterfly Milkweed
- Purple Milkweed
- Eastern Red Columbine
- Nora Barlow Columbine
- Feverfew
- Obedient Plant
- Pink Columbine
- Poppy
Pretty great list, right? As any avid reader of my blog knows, I am trying to favour more native plants, and many of these are native to the area. I also want to tell you how I got all these seeds (not all of them were stolen), but that’s a post for another day.
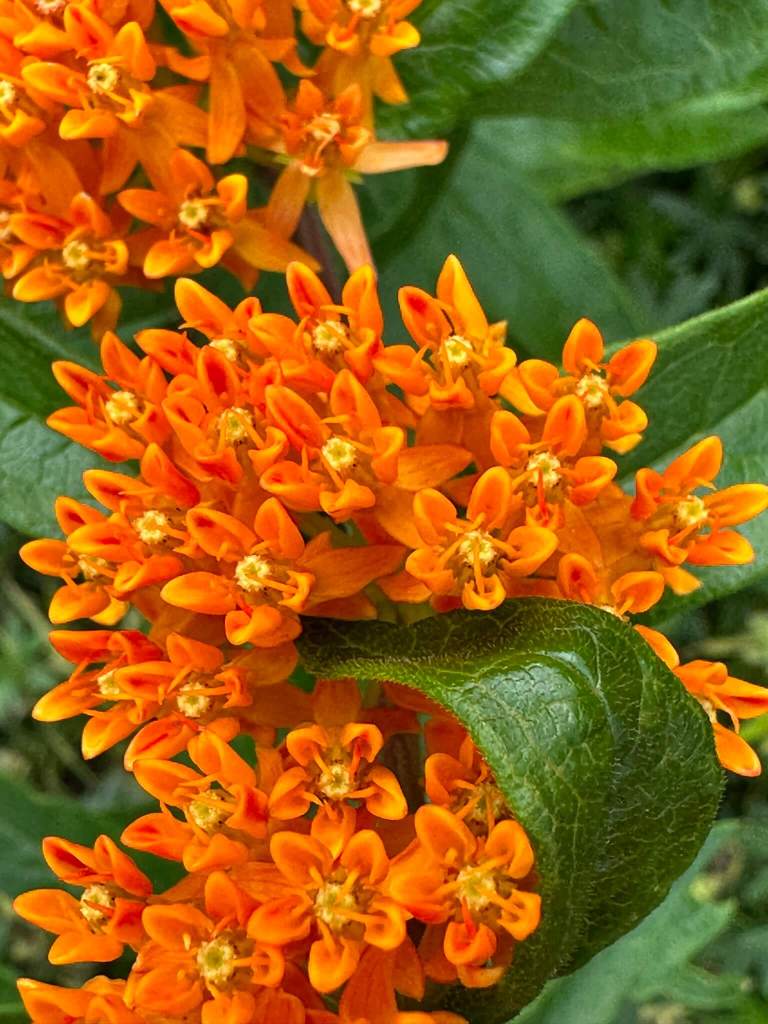
I might be most excited about this one! Look at the colour!!
These are only some of the seeds that I am going to be starting. I have a bunch of annuals that I would like to start using winter sowing. Apparently, there is no restriction on what you can winter sow, since the plants will only start emerging once it is warm and the days are long enough. But my plan is to move from most hardy to most tender annuals. My next batch will be seeds for cold-tolerant plants that are not hardy in Montreal. Any ideas what they could be?
I must admit that I’m quite proud of how organized I was this time. I’d been collecting milk jugs for a while, they fit beautifully into the bins from last year, and they are even labeled! I’m off to a promising start if I do say so myself. Except for that pesky question of where everything is going to go…
What about you? Have you tried winter sowing before? What am I doing right and wrong? Have you ever overplanted? How mad is my husband going to be when he reads this??
Just 59 days til spring…

Amazing. Hope you have good luck. What a great effort on native plants.
LikeLike